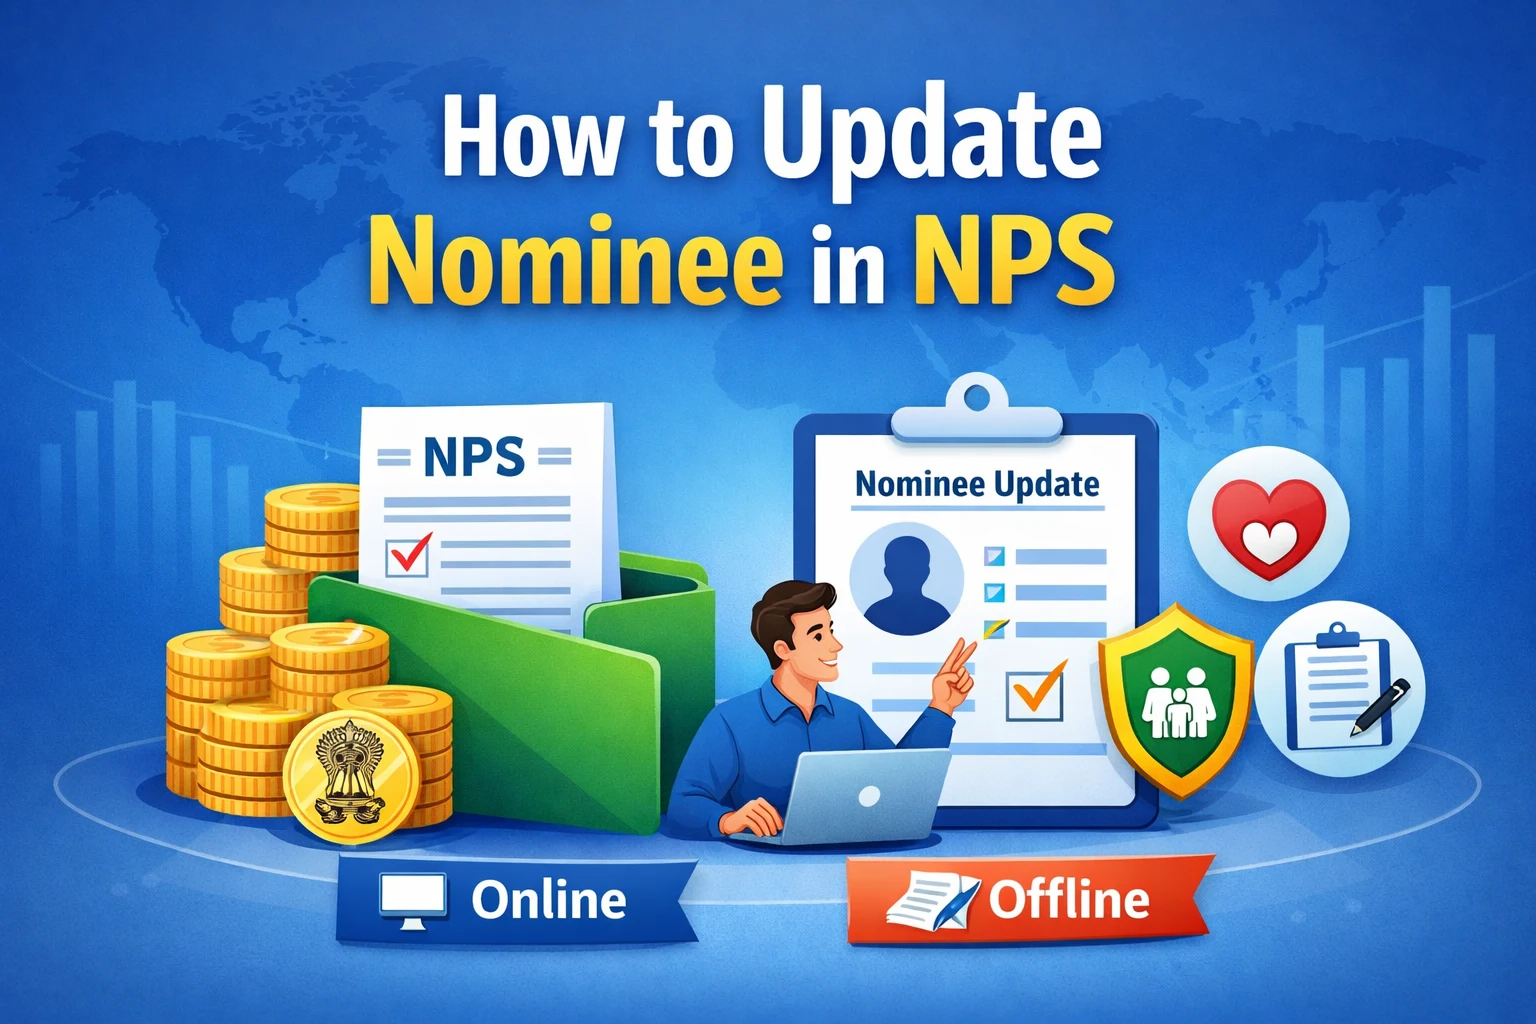
How to Update Nominee in NPS (National Pension System)
Updating your nominee in the National Pension System (NPS) is a crucial, yet simple, task to ensure your pension wealth reaches the right person. This guide covers the most current and effective methods to make this change.
Why You Must Keep Your NPS Nominee Updated
Your nominee is the person legally entitled to receive your entire NPS corpus in the event of your death. An outdated or missing nomination can lead to significant delays and complex legal procedures for your family during a difficult time. Regular updates—especially after major life events like marriage, childbirth, or divorce—are essential for smooth and swift transfer of benefits.
What You Need Before You Start
Gather this information for a quick update:
- Your Permanent Retirement Account Number (PRAN)
- Nominee’s full name (as per official ID)
- Your relationship with the nominee
- Nominee’s date of birth
- The percentage share you wish to allocate (you can nominate up to 3 people; the total must be 100%)
- For a minor nominee, the name and details of their guardian
Method 1: Update Online (Fastest & Recommended)
The quickest way is through your NPS Central Recordkeeping Agency (CRA) account.
Step 1: Log in to the CRA Portal
Visit the official website of your CRA (nsdl.co.in or cra-nsdl.com) and log in using your PRAN (as user ID) and password.
Step 2: Navigate to the Update Section
From your dashboard, look for a menu option like “Update Subscriber Details,” “Demographic Update,” or “Modify Personal Details.” Click on it, and then select the specific option to change nomination details.
Step 3: Enter Nominee Information
A form will appear. Here, you can add a new nominee, modify an existing one, or delete an old entry. Fill in all required fields accurately and assign the correct percentage share to each nominee.
Step 4: Authenticate and Submit
You will need to verify this sensitive change through a two-step process:
- Enter an OTP sent to your registered mobile number.
- Complete an e-Signature using your Aadhaar-linked OTP.
Once done, submit the form.
Step 5: Confirmation
You will see an on-screen success message and receive a confirmation SMS and email shortly after. The update is effective immediately. You can download a transaction statement for your records.
Method 2: Update Offline (Via Physical Form)
If you prefer not to use the online portal, you can submit a physical form.
Step 1: Get the Correct Form
You need “Annexure S2 – Form for Change in Nomination.” You can download it from the official NPS trust website or obtain a copy from your Point of Presence (PoP) service provider (like a bank) or your employer’s admin office.
Step 2: Fill Out the Form
Complete the form carefully in block letters. Attach self-attested photocopies of identity and address proof for the new nominee(s).
Step 3: Submit the Form
Submit the completed form and attachments to your nearest NPS PoP branch or your employer’s nodal office (if you are a corporate or government employee).
Step 4: Processing Time
The office will forward your request to the CRA. The update is typically processed within 5 to 7 working days, after which you will receive a confirmation.
Note on Fees: Your first nomination at the time of account opening is free. However, any subsequent change to your nominee details incurs a nominal service charge of ₹20, plus applicable taxes.
Important Points to Remember
- Check Your Details: Always verify the updated nominee information by logging into your CRA account and viewing your account statement.
- Common Mistake: Do not leave the “percentage share” field incomplete. The system requires the total for all nominees to be exactly 100%.
- It’s Your Responsibility: Your NPS nomination is not updated automatically with changes you make to your EPF or other employment benefits. You must update it separately.
- Recent Benefit: Under the latest NPS rules, your nominee is entitled to receive 100% of your corpus as a tax-free lump sum, with no requirement to purchase an annuity. They also have the option to withdraw the amount systematically over time.
Next Steps: Verify and Be Secure
Once you’ve completed the update, take these final steps:
- Download and save the confirmation receipt.
- Inform your nominee about their designation and where to find important documents.
- Set a reminder to review these details every two years or after any family change.
By following this guide, you can ensure your NPS savings are protected and will seamlessly benefit your loved ones, exactly as you intend.
📢 Stay Updated with GConnect
Join our Whatsapp channels for the latest news and job updates:
Join GConnect News Join GConnect Jobs
GConnect News

GConnect Jobs